How to Set Up Leavly for Your Company

Setting up Leavly takes about ten minutes of clicking: create your account, add your departments and leave policies, then invite your team. There’s nothing to install, and nothing is charged during the 14-day free trial.
I’m Dervis – I built Leavly and set it up for our own team first. The clicking is the easy part. What saves you time later is getting three decisions right up front, because they’re quicker to set now than to unpick once people are in:
- How you split departments – or whether you need them at all yet.
- Which leave types you add – and which ones count against the annual allowance.
- Who gets an admin role – and who only needs to approve requests.
This guide walks through the whole setup in the order I’d do it, from registering your company to approving your first request, and flags each of those decisions where it comes up.
14-day free trial, cancel any time - start your trial
Setting up your company, step by step
1. Create your company account
Go to leavly.io/register and fill in your company name, your own name, work email, and a password. This creates your company’s workspace with you as its first admin. Pick Essentials for the core leave workflow or Pro if you also want analytics, custom roles and blackout dates; either way you get a 14-day free trial. You add a card to start, but nothing is charged until the trial ends, and you can cancel any time before then.
If you’re not sure which plan fits, start on Essentials. Moving to Pro later is one click on the Billing page and nothing you’ve set up has to be redone.
2. Add your departments
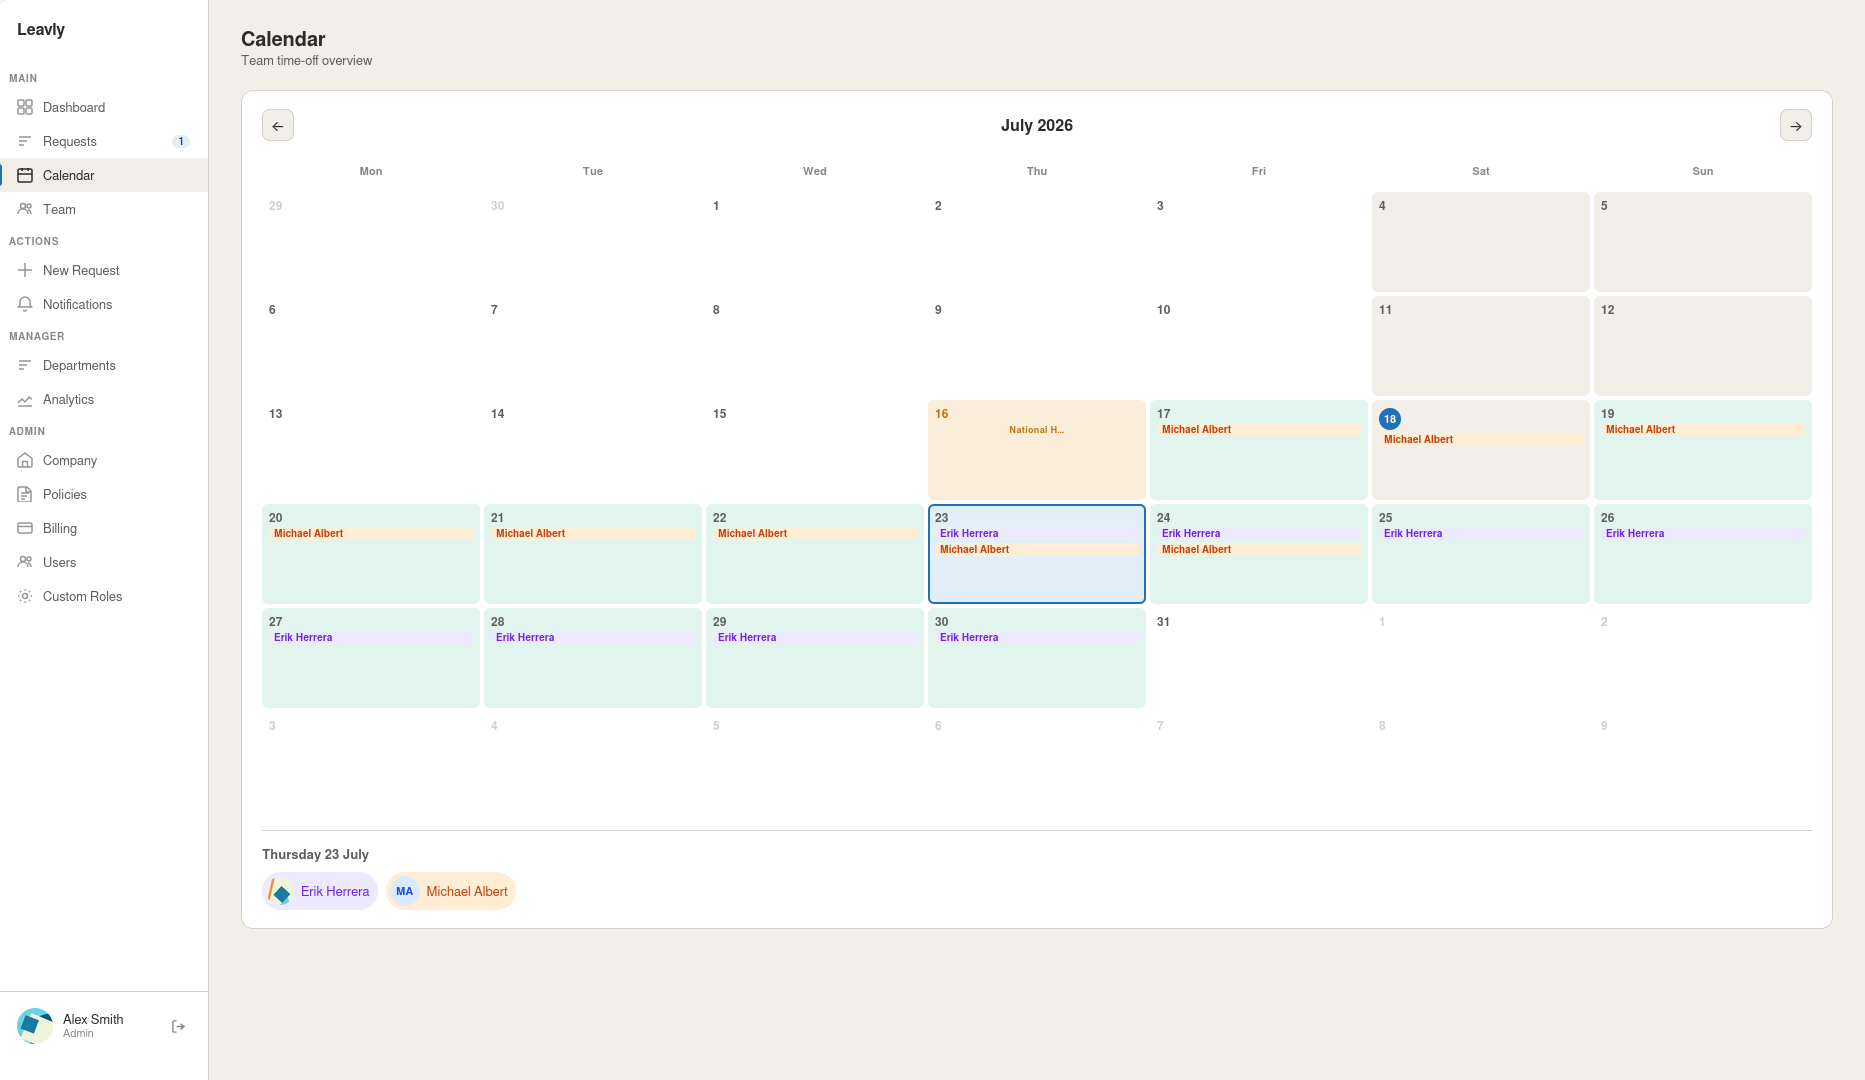
From Admin, add a department for each team - Engineering, Sales, Support, whatever matches your org chart - and give each one a color so it’s easy to spot on the team calendar. Departments are optional and you can add or rename them at any time, so don’t worry about getting this perfect on day one.
Do you need departments yet? Under about fifteen people you can skip this step - one calendar for everyone reads fine at that size. Departments start earning their keep once the calendar gets busy: they color-code who’s off and let a manager filter down to their own team. When you do add them, group people by who actually needs to book time off around each other, not by your full org chart.
3. Configure your leave policies
The Policies page covers everything that applies company-wide, split into four tabs:
- Public holidays - add the days your company observes. They’re marked automatically on the team calendar and don’t count as working days.
- Leave types - vacation, sick, personal, remote work, parental leave, and bereavement are built in. Add your own (e.g. “Study leave”) and choose whether each type deducts from the annual allowance - useful for something like remote work that shouldn’t eat into vacation days.
- Default allowances - set how many days each role gets by default. This only applies to new users going forward; anyone already added keeps their individual allowance.
- Blackout dates - block off ranges where no one can submit a request, like year-end close or a launch week.
A sensible default: keep the built-in leave types and only add one when you’d actually report on it separately. Use the “counts against the annual allowance” toggle for anything that isn’t really vacation - remote-work days, study leave - so it shows on the calendar without eating into holiday. And add your blackout dates now, while you’re on this page: it’s less work than turning down requests for a week you already knew was closed.
4. Invite your team
Add people one at a time from Users → New user: name, email, role (employee, manager, HR admin, or admin), department, and leave allowance. A temporary password is emailed to them automatically, and they can change it from their profile after logging in.
Decide each person’s role before you invite them rather than fixing it afterwards - changing a role later works, but sends them another email. Give the lightest role that still lets someone do their job: most people are employees, team leads who approve time off are managers, and only people who manage policies or billing need HR admin or admin. While you’re here, make one trusted colleague an admin too, so approvals and billing don’t stall the week you’re away.
Each new person gets an email with a temporary password and a sign-in link - worth a heads-up in your team chat so it doesn’t get mistaken for spam.
Onboarding a bigger team? Bulk-upload with a CSV
Users → Bulk add accepts a CSV with name, email, role, department, leave_allowance columns and creates every account - and sends every welcome email - in one pass. It's the fastest way to bring your whole company onto Leavly on day one instead of adding people one by one. Try it with two or three rows first to check your column names line up, then paste in the rest.
5. Adjust roles, if the defaults don’t fit
Employee, manager, HR admin, and company admin cover most companies. If your company works differently - say, a team lead who should approve requests but not manage billing - create a custom role under Admin → Roles with exactly the privileges that role needs.
Don’t build a custom role for one person - just pick the closest standard role. It pays off when a whole layer of the company needs the same in-between permissions, like team leads who approve leave but never touch billing.
6. You’re set - requests and approvals take it from here
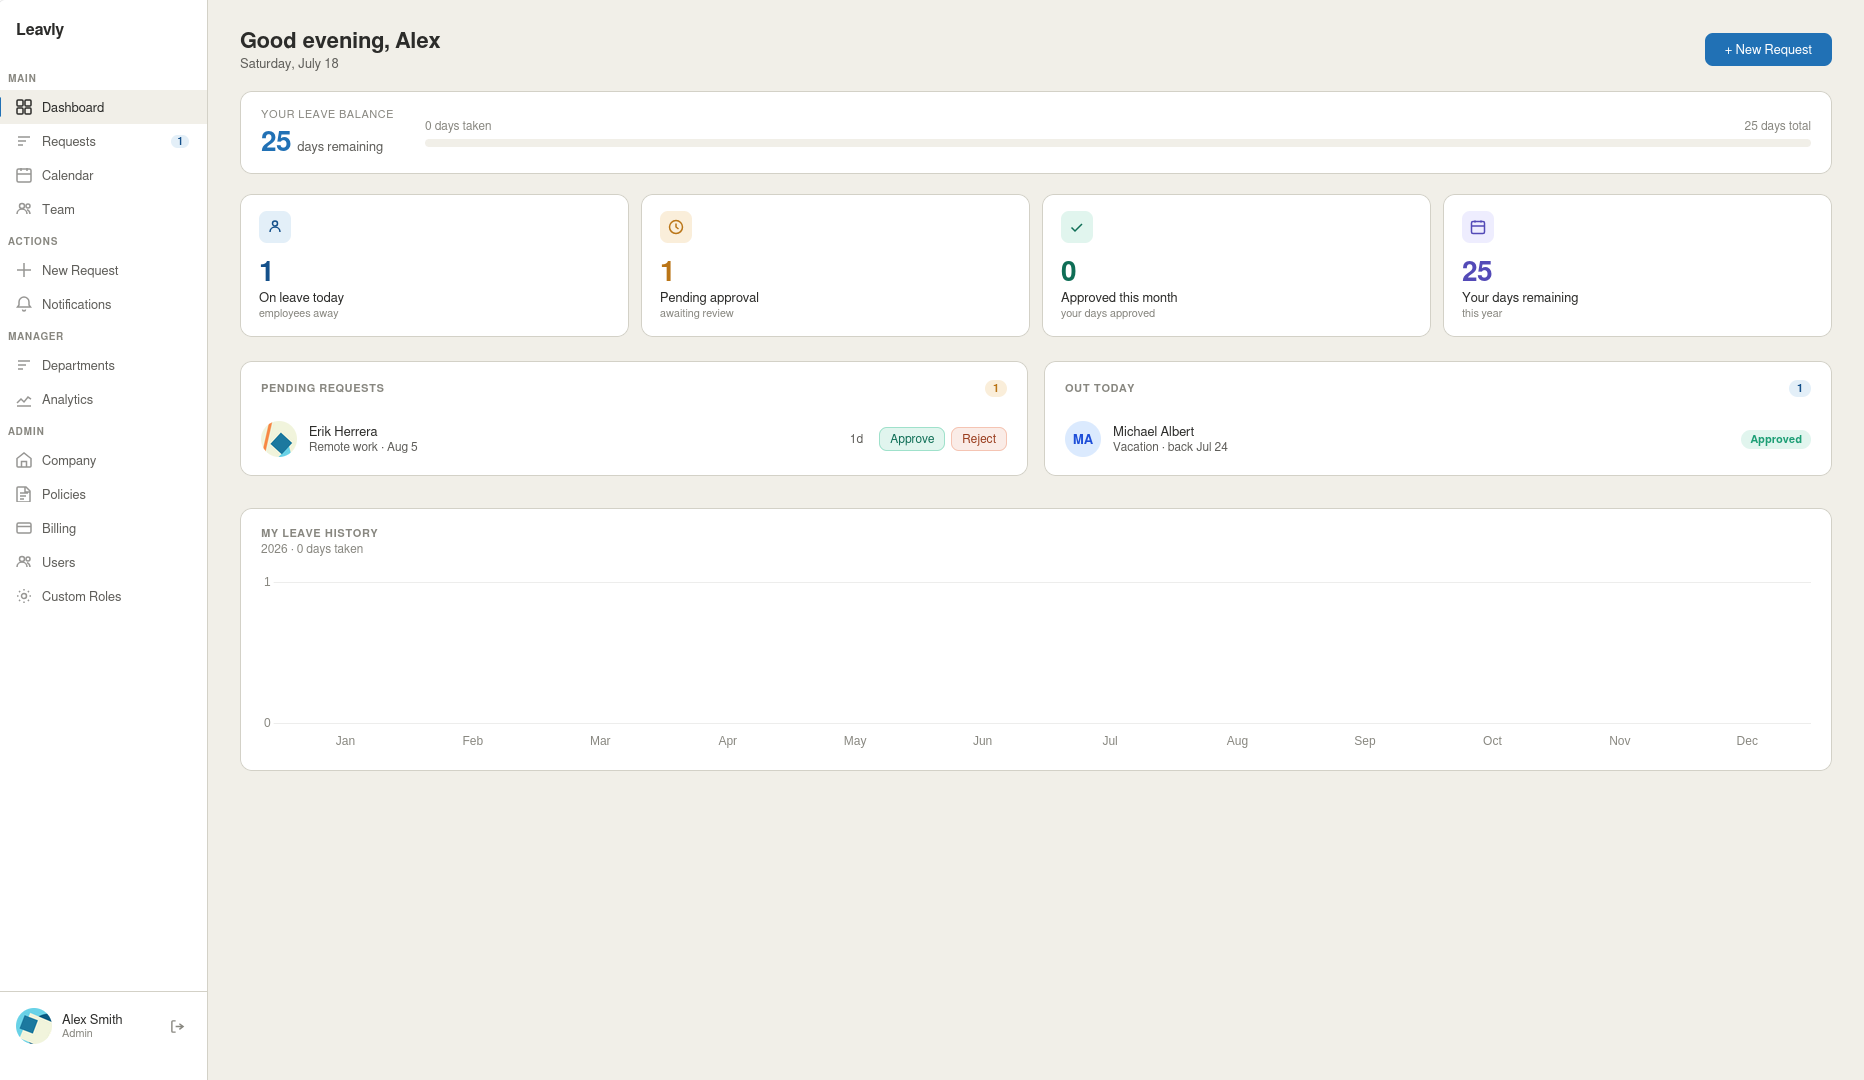
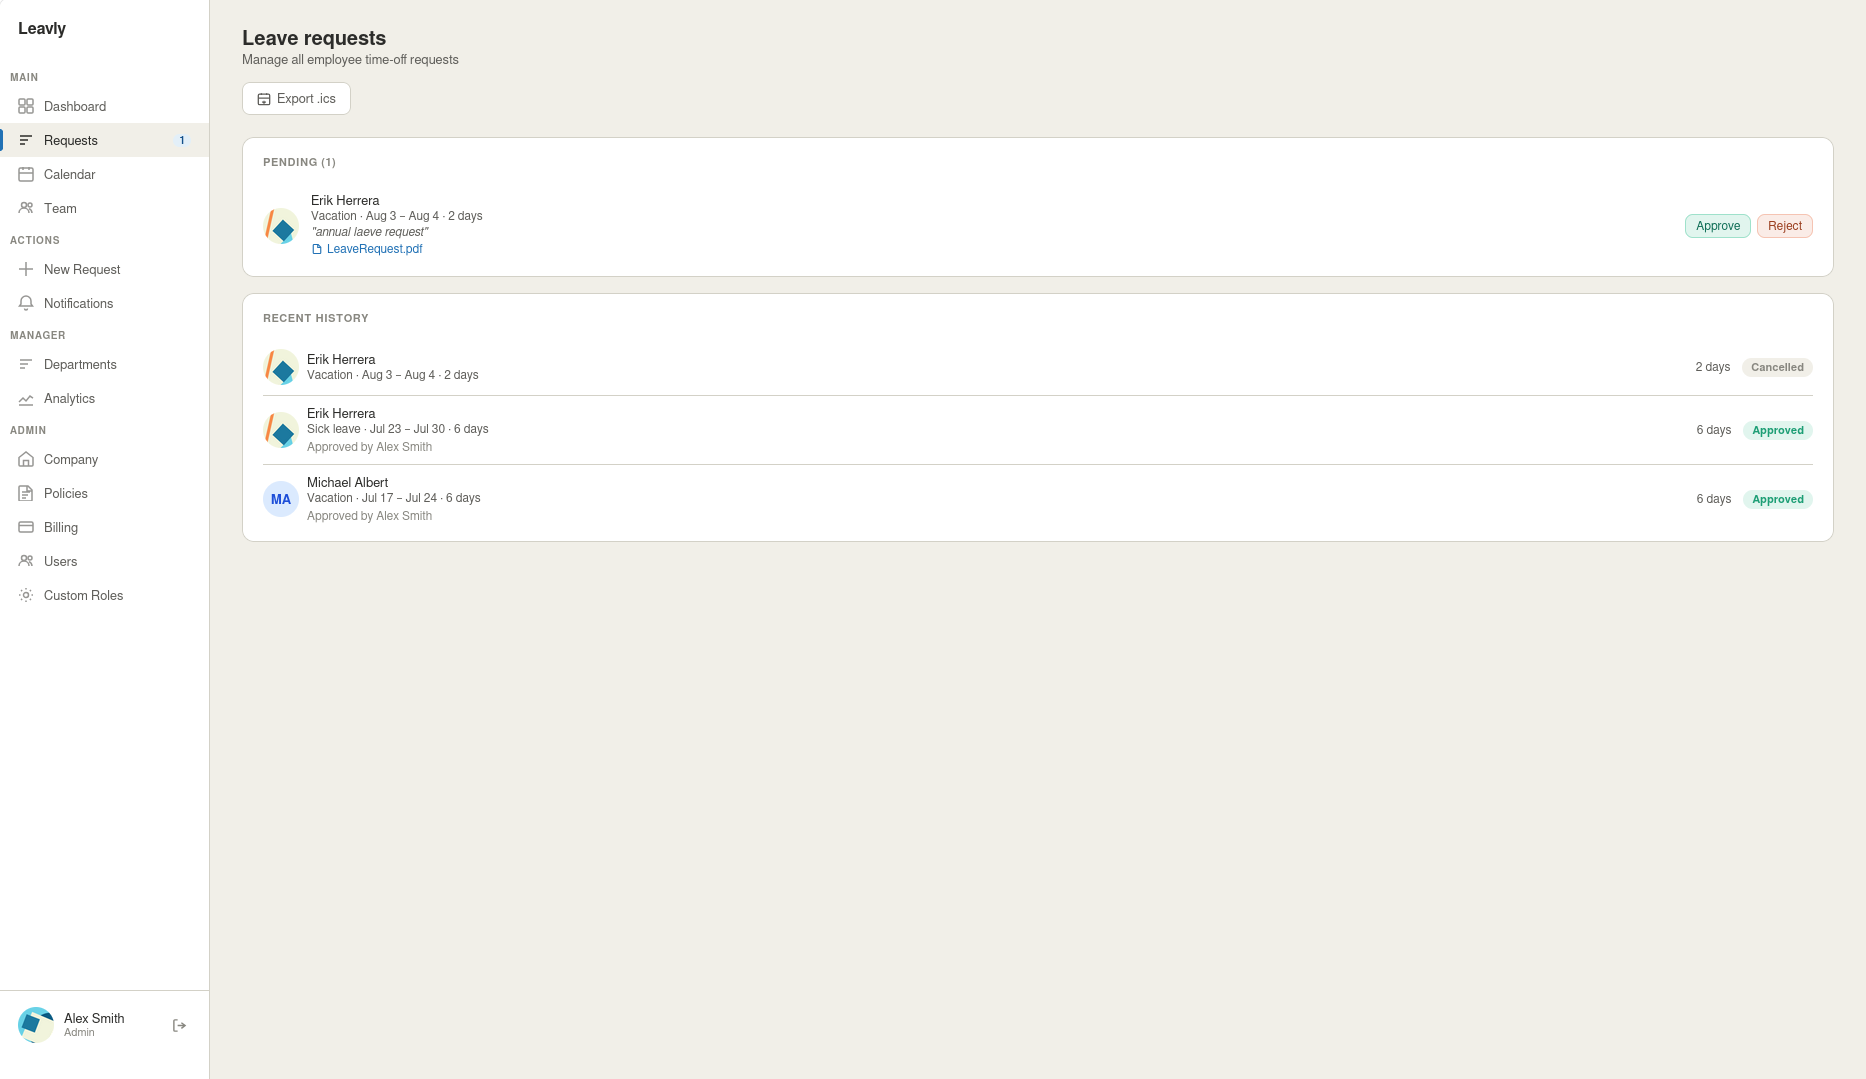
From here the day-to-day runs itself. Employees submit time off from New Request; managers, HR, and admins approve or reject with one click from the dashboard or the Requests page, with an optional note if they reject. The team calendar and the employee’s balance update immediately, and an email goes out either way.
Before you tell everyone it’s live, submit one test request as yourself and approve it. You’ll watch the calendar fill in, the balance drop, and the email arrive - and you’ll know the whole loop works.
Coming from a spreadsheet?
If you track leave in a spreadsheet today - maybe our own free leave tracker template - you can switch over part-way through the year. When you add each person, set their leave allowance to what they have left for the current period, not their full yearly figure: if someone gets 25 days and has already taken 10, enter 15. From the next leave year onward you set the full allowance as normal.
Questions while you set up?
If anything about setup is unclear, send us a note - we read and answer every message.
Ready to set up your company?
Every plan starts with a 14-day free trial - you won’t be charged until it ends.
Common questions
These are the ones people ask me most often while they’re setting up. If yours isn’t answered here, send it over and I’ll add it.